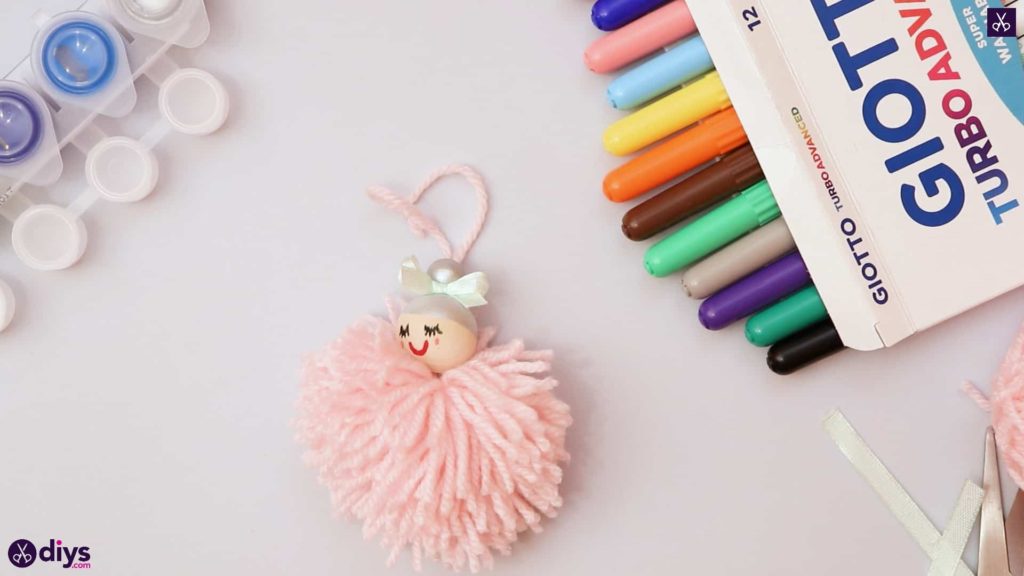
DIY Pom Pom Angel for Christmas Tree
Now that Christmas is even remotely shut, my kids are already in full swing when it comes to wanting to make ornaments of their ain. It's a family tradition in our firm to make all kinds of things that we tin hang from our tree. Lately, nosotros've been really large into yarn based crafts because I'one thousand also a large knitter, so we always have flake yarn on hand where it'south user-friendly for crafting. That's how I came up with the idea for making adorable pom pom angel tree ornaments! I was actually and then happy with the finished product that I decided to make another i just and so I could outlined the process for other people to try out as well.
Bank check out these full pace by step instructions consummate with pictures! If you lot're more of a video tutorial person, go along scrolling to the lesser of this mail to notice what yous're looking for.
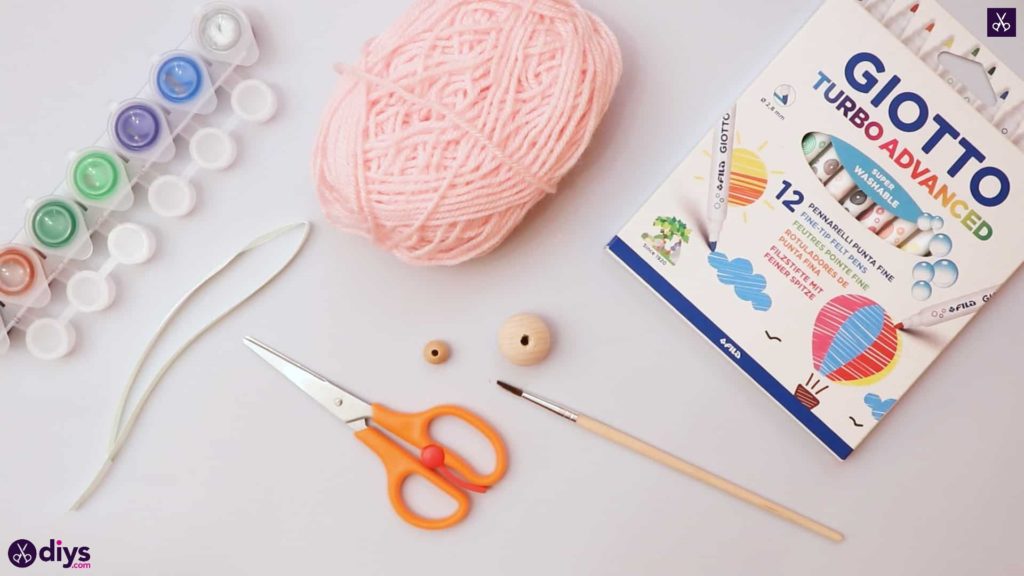
For this project, you'll need:
- Wooden beads (1 minor and one big)
- Silverish paint
- A paintbrush
- Pink yarn
- Markers (black, red, and pink)
- Scissors
Pace one: gather your materials!
Become everything you need to do this craft so you're prepared.
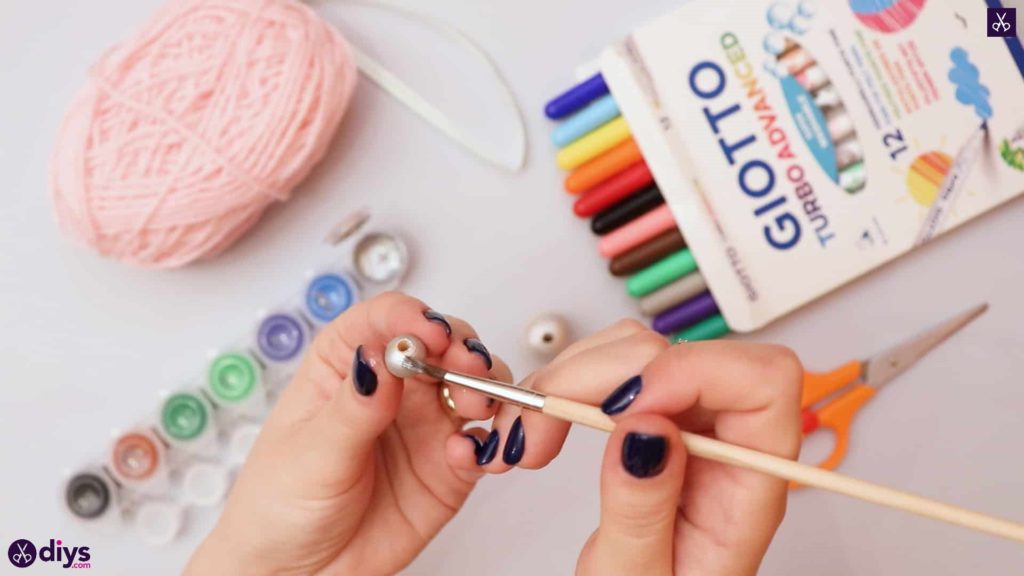
Step ii: paint the head
Around the tiptop of your larger wooden bead, paint a silverish semi-circular shape with waving edges at the front like bangs and a rounded edge lower at the back. This will be your angel's pilus. Set this dewdrop aside to dry out. This volition be your angel's head and pilus.
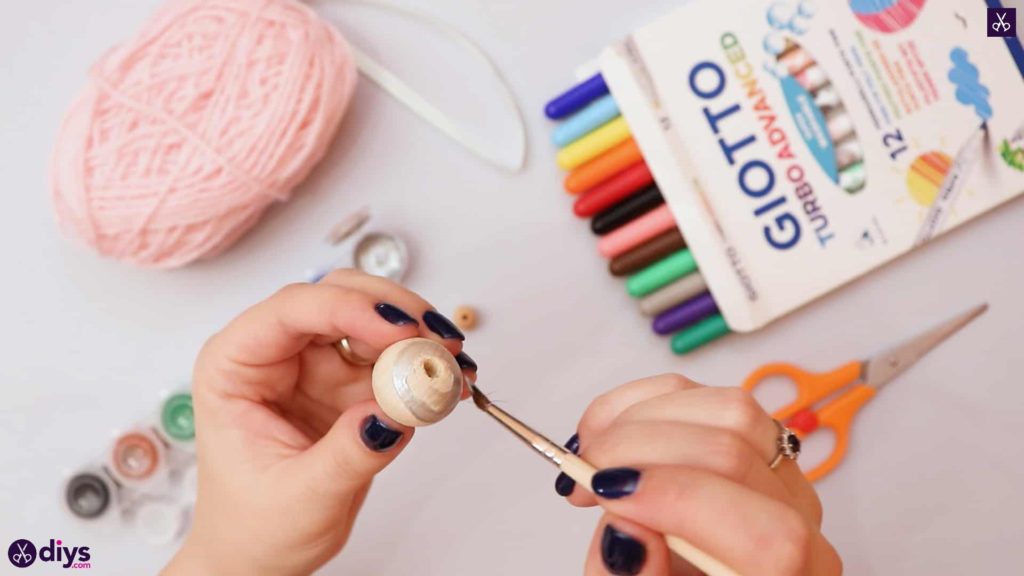
Pace iii: paint the bun
Paint the entire smaller wooden bead silver also and gear up it aside to dry. This will exist your affections's bun.
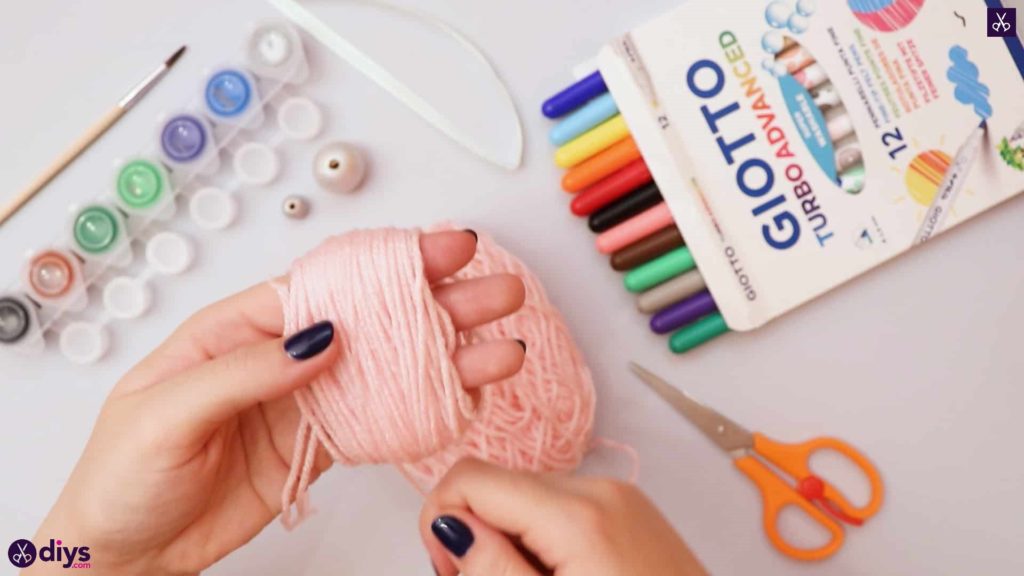
Step 4: offset making the pom pom
Use your pink yarn to brand a large pom pom. Offset by cutting a piece of most six inches fro, the yarn and fold it in half so y'all have a loop at one stop and two loose ends met upwardly at the other. Hold it nearly halfway along its folded length between your heart and band fingers, with your loose ends on the inside of your hand where your palm is and the loop at the dorsum of your mitt. Take the cease of the ball of yarn and hold information technology against the inside of your 4 fingers with your thumb. Start wrapping the yarn effectually and around the full width of your iv fingers (make sure the ends of the original piece between your fingers stick out i side then they aren't caught underneath the wrapped yarn) until you take a yarn packet well-nigh two inches broad and half an inch thick wrapped effectually your fingers. Cut your yarn bundle free from the ball.
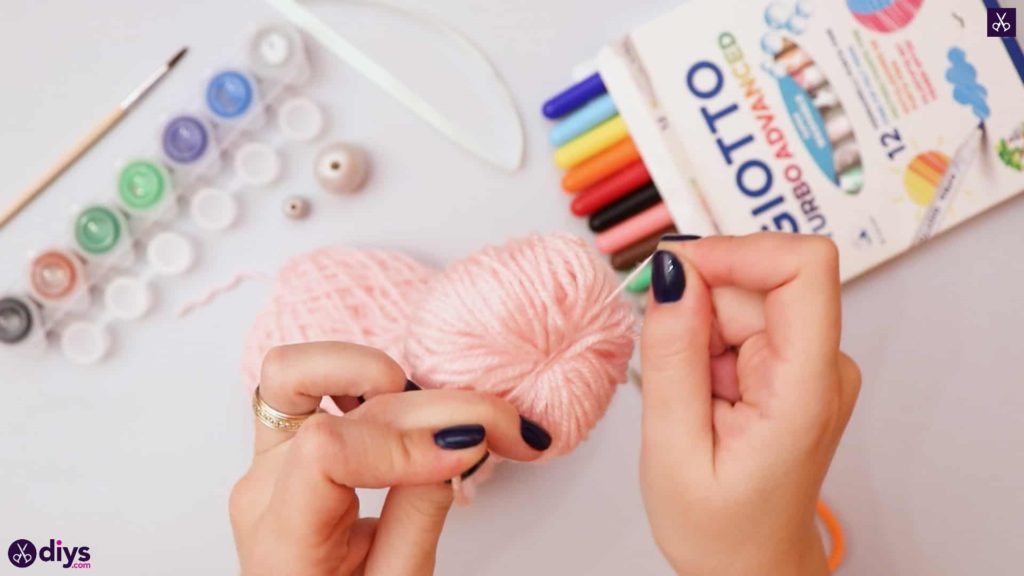
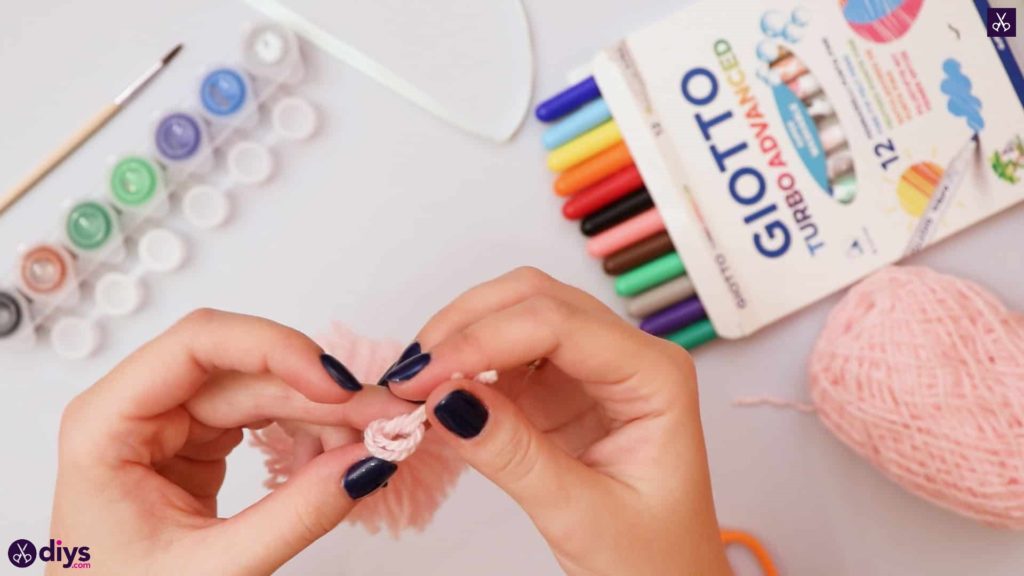
Step 5: tie
Pull the yarn loop from the dorsum of your hand around to the front, passing the tips of your fingers, then pull the loose ends of your original slice from the far side of the bundle, nearer your palm, and pass them through the loop, pulling difficult to cinch the yarn parcel in the middle. Slide the whole parcel off the ends of your four fingers and wrap the looped ends around the middle to cinch it more concretely. Pull tightly and knot the ends well.
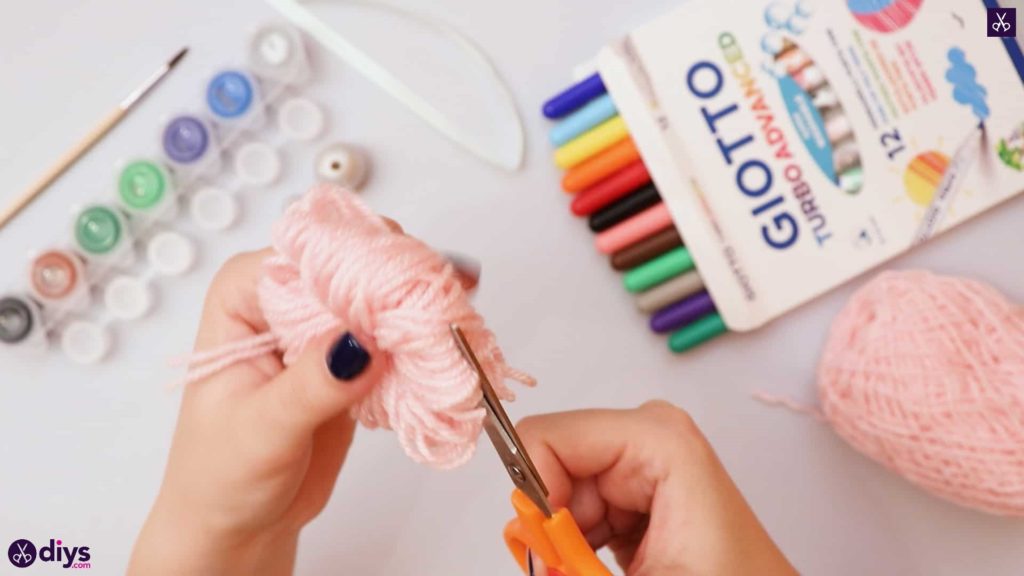
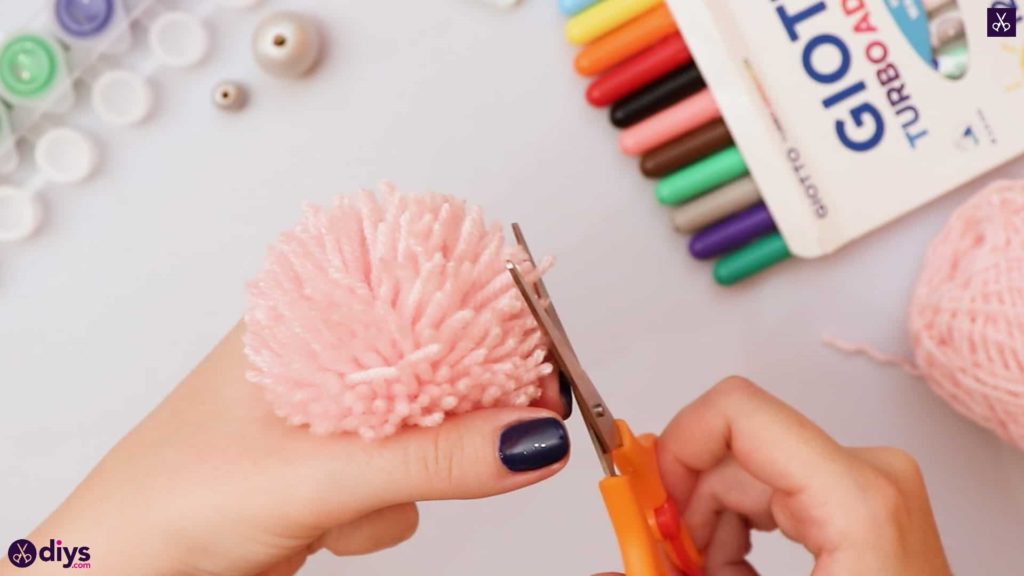
Step six: cut
Cut the loops on each side of your cinched yarn package and then that they spring apart equally loose ends. Fluff the pom pom so it achieves a more rounded shape, with the ends making a whole sphere.
Stride 7: trim
Property your original piece's ends aside (yous'll utilise them later), showtime trimming the pom poms ends all around, giving information technology a smoother and more than rounded shape.
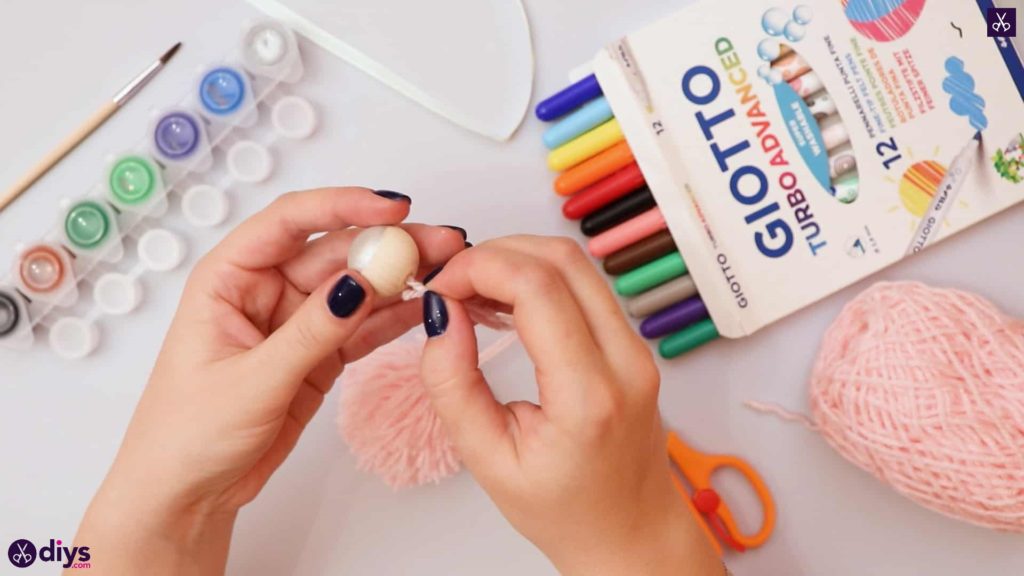
Step viii: thread the head
Pass the two ends of your original slice, which will now be the longest, through the pigsty in your larger wooden bead.
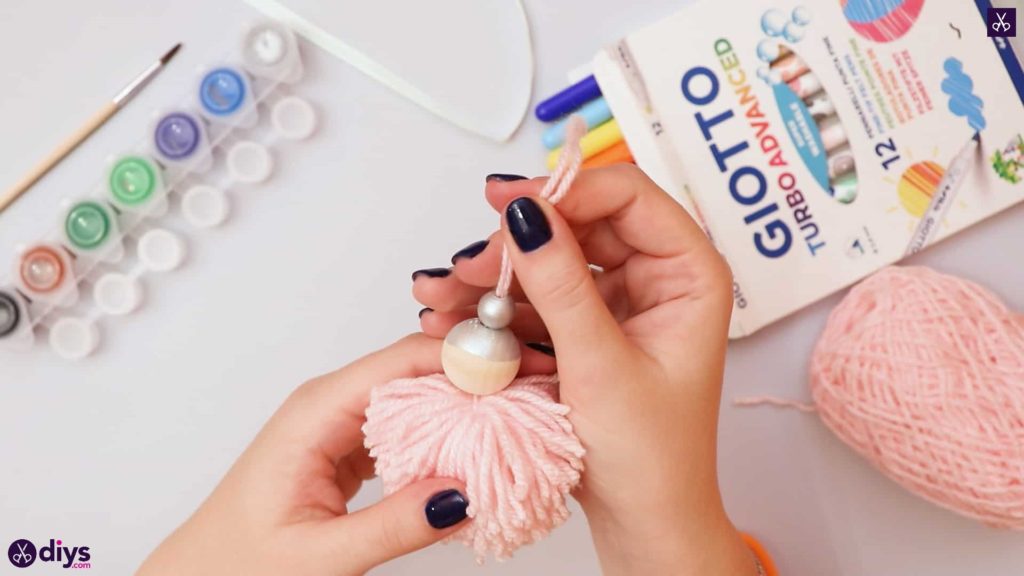
Step 9: add the bun
Pass your two longer string ends through the pigsty in your smaller painted wooden bead, then tie the ends in a knot, sliding it right down against the dewdrop to continue the head and bun in place. Then tie another non high above the bead, nearer the bodily ends, to make a loop that you can hang your ornament from.
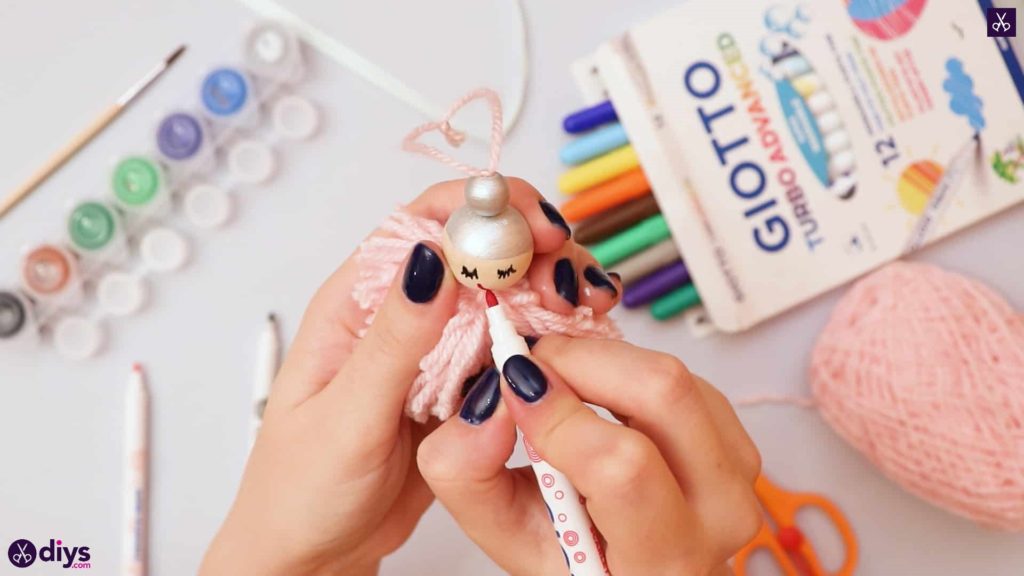
Step 10: draw the face
Employ your markers or felt tip pens to draw your angel's face. I used black to make the optics and lashes and red to make the smile.
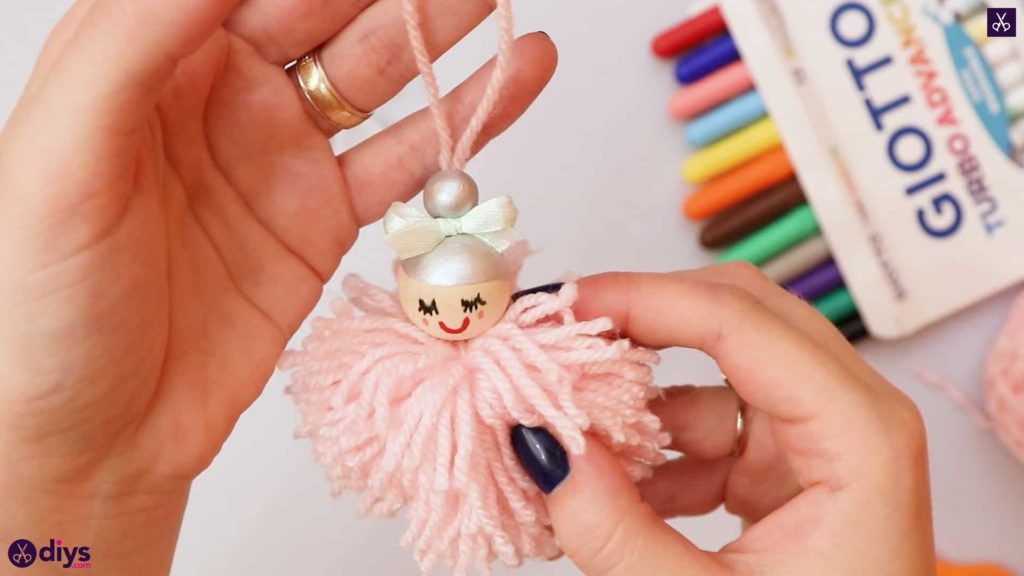
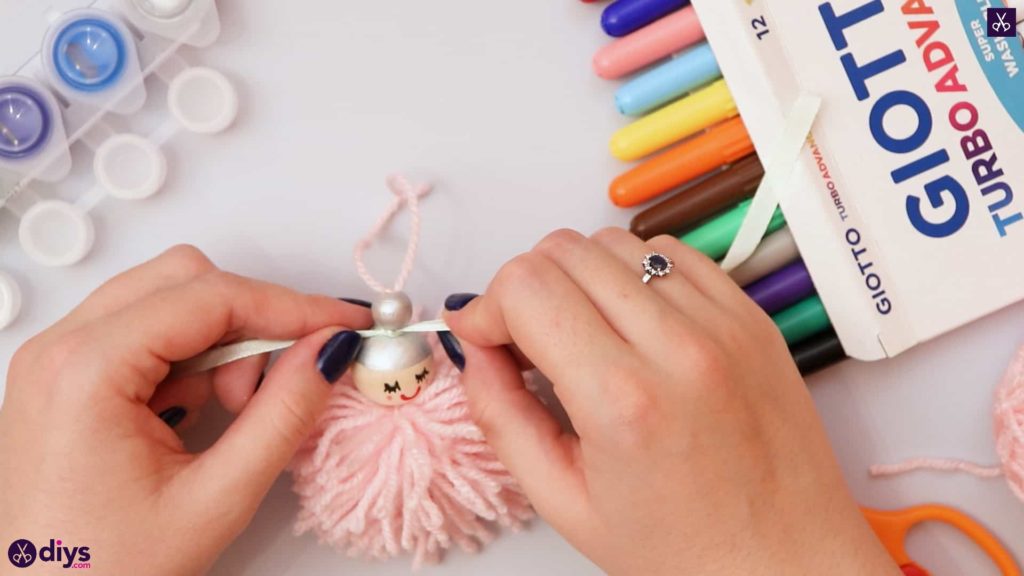
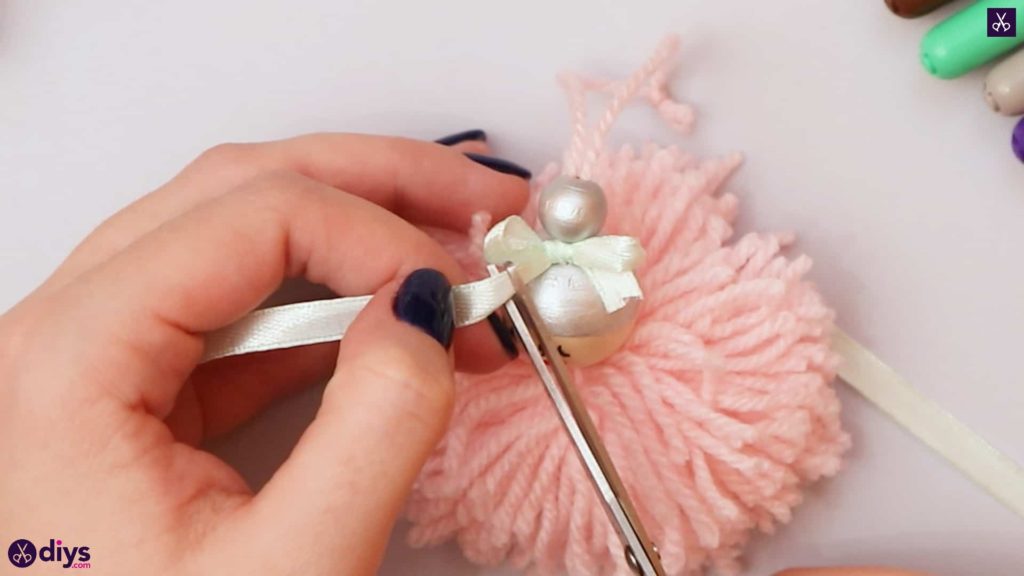
Step 11: necktie with a ribbon
Necktie your ribbon in a bow around the argent bun and trim the excess of the ends off. Your angel now has a hair bow!
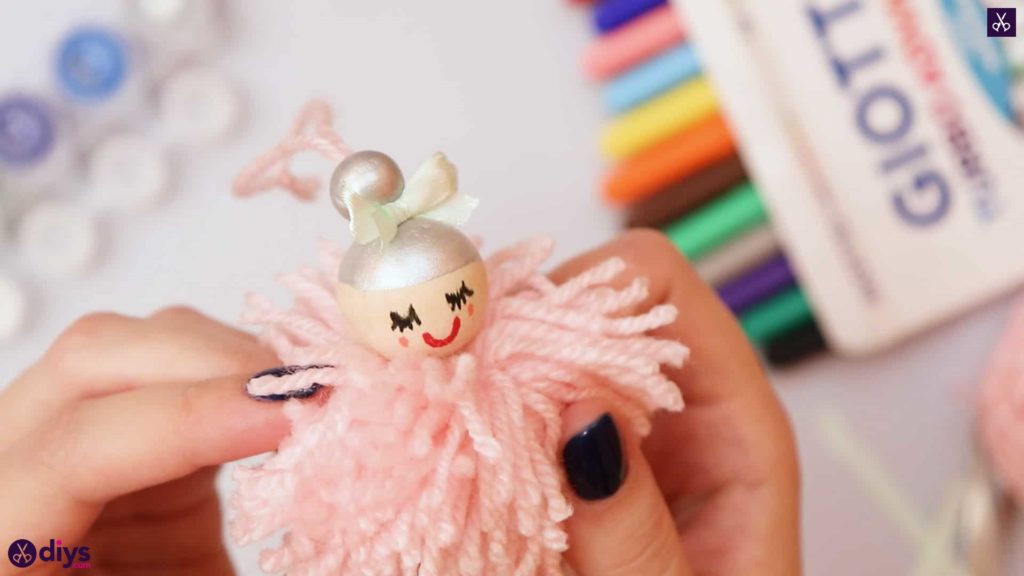
Your adorable petty angel is officially finished! Merely in case you'd like to try this projection out for yourself, here's a fantastic tutorial video to help you!
sandersrappostion.blogspot.com
Source: https://www.diys.com/pom-pom-angel-for-christmas-tree/
Belum ada Komentar untuk "DIY Pom Pom Angel for Christmas Tree"
Posting Komentar